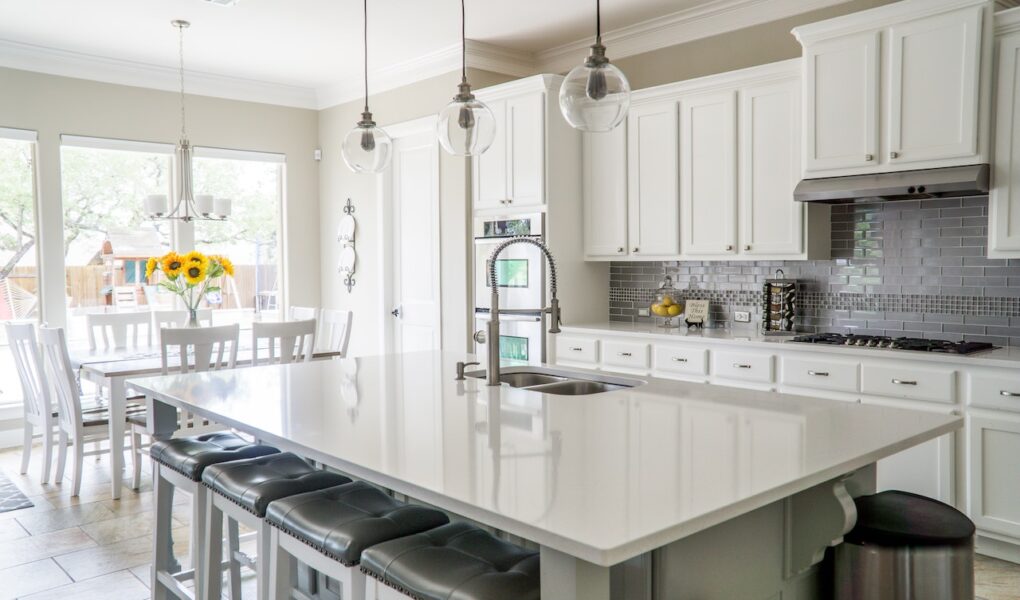
Are you someone who tackles home projects yourself? Are you planning to upgrade your kitchen lighting with a modern touch? Installing under-cabinet lighting is an excellent way to add style and atmosphere to any room.
Not only does it provide the perfect ambient glow, but it also illuminates your countertop when cooking in the evening, making meal prep much easier. This guide explains all the steps involved in installing and maintaining under-cabinet illumination for your kitchen – a project that will have even novice DIYers feeling like professionals!
Step 1: Choosing the Right Lighting
Before you begin the installation process, selecting the correct type of lighting is essential. Various options are available on the market, ranging from recessed “can” lights to puck and even strip lights.
Ensure that whatever product you choose is compatible with your wiring setup. Additionally, compare brightness levels for different models and pick one adequate for the space. You can also check a lighting company’s website to schedule a consultation with an expert and discuss potential solutions.
Step 2: Gather Your Supplies
Once you’ve chosen the ideal lights, it’s time to gather all of the necessary supplies. You will need a power drill, wood screws, wire strippers, electrical tape, and your selected lighting system. Additionally, double-check that you have all of the mounting hardware included with your lighting package.
Step 3: Preparations and Installation
The next step is to prepare your space for installation. Start by measuring where each light will go, affecting how much wiring you’ll need. Once that’s done, mark off the measurements with a pencil so you know where to place each light.
Now, it’s time to start the installation process. Make small holes in the cabinet for the wiring and mounting screws using your drill. Thread the wiring through these holes and strip off some of the insulation from both ends with wire strippers. Wrap electrical tape around exposed wires as a precaution against any potential hazards.
Once the wiring is in place, it’s time to attach the lights to the underside of your cabinet. With each unit secured, connect the wires from the lighting to a power source, such as an outlet or junction box, and turn on the switch. For this step, you may need wire connectors; check with local electrical codes before beginning.
Step 4: Maintaining Your Lights
It’s essential to take care of the fixtures when installing lighting over time. Dust and dirt can quickly accumulate on the lights, reducing brightness and efficiency. Regularly wipe down visible surfaces with a soft cloth to preserve your lighting system’s performance.
Check for any signs of corrosion or damage caused by water seepage or other environmental factors. If you notice any issues, take the necessary steps to address them immediately.
When it’s time to replace any bulbs, choose ones compatible with the lighting system you have installed. This involves checking wattage levels and other bulb specifications so that they can fit properly. With the right bulbs, you can keep your under-cabinet lighting looking and working great for a long time.
Final Thoughts
Installing under-cabinet lighting can add a beautiful and practical touch to your kitchen. By following the steps above, you, too, can become an expert at installing these fixtures in no time.
From selecting the correct type of lights to wiring and maintenance, keep this guide handy for any future projects or upgrades you may be considering. With the proper preparation and care, you’ll be able to create a kitchen that looks and feels like it’s straight out of a magazine! Happy DIY-ing!


